


What is OneLibrary?
For the latest information on OneLibrary, please refer to linked FAQ
OneLibrary is a universal DJ library database format developed in close collaboration with AlphaTheta. It is designed to standardise DJ performance data, including playlists, cue points, and beatgrids. This allows DJs to perform seamlessly across different software and hardware ecosystems.
With OneLibrary, you can seamlessly move your library between djay, rekordbox, and supported DJ hardware such as CDJ, XDJ, OPUS, and OMNIS systems.
With OneLibrary, you can:
- Move your playlists, cue points and beatgrids easily between djay on different devices — solving one of the biggest pain points for DJs managing multiple setups.
- Export your music library to a USB drive or SD card for use on professional DJ hardware, giving you maximum flexibility.
OneLibrary gives you complete flexibility — whether performing with djay on your laptop, or iOS device, or playing on supported hardware in the booth.

Key features
- Add, delete, and edit playlists directly in OneLibrary (macOS / Windows).
- Add tracks and playlists from My Collection, My Files, or External Apps.
- Drag and drop tracks directly from Finder into OneLibrary (macOS).
- Exported OneLibrary drives are compatible with:
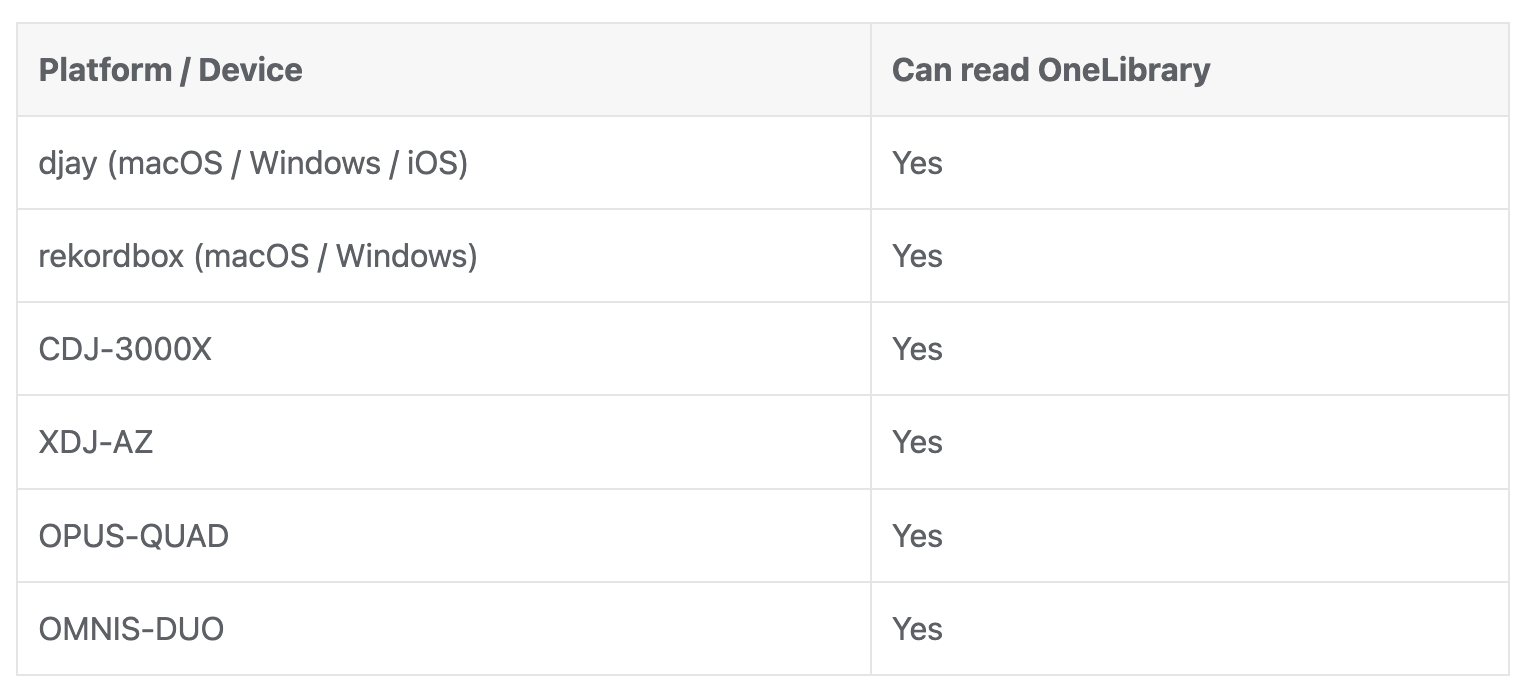
Note: OneLibrary is only compatible with devices that support OneLibrary, currently the four hardware models listed above.
Cues, Loops & Beatgrids
djay automatically exports cue points, loops, and beatgrids to your OneLibrary drive. When you play a track from OneLibrary in djay, the app reads cue points, loops, and beatgrids directly from the drive. Any changes you make — such as setting new cue points or loops — are saved back to OneLibrary on the drive, ensuring your performance data stays in sync across all supported systems.
Supported drives & file systems
- FAT32 — macOS / Windows / iOS
- exFAT — macOS / Windows / iOS
- HFS+ — macOS / iOS
How to create a new OneLibrary playlist or folder
-
Connect a USB drive to your Mac.
-
Go to the sidebar and click the USB Library icon.
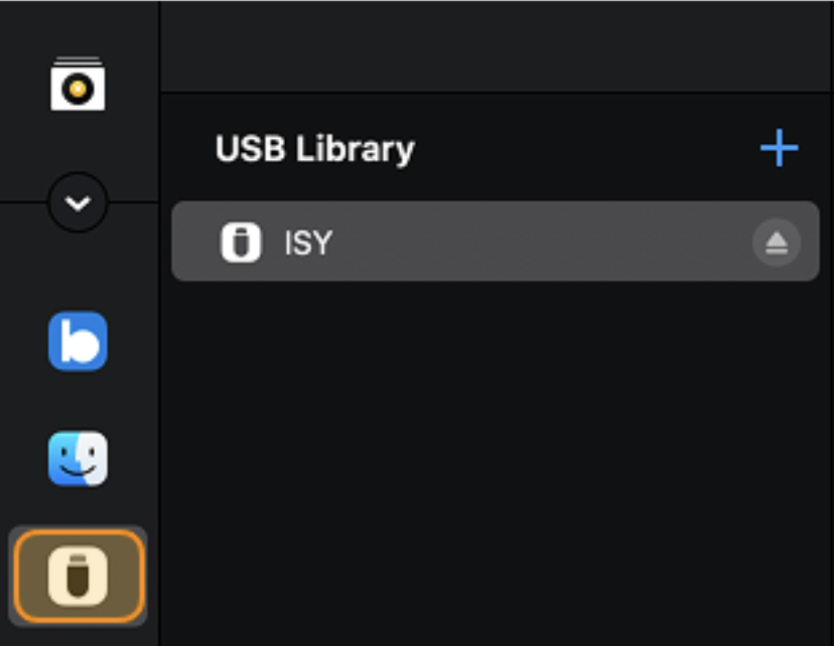
-
You’ll need to give OneLibrary access to the USB drive if it’s the first time using it.
-
Choose the drive where you want to add playlists or folders.
-
Click the + button to add a new playlist or folder.
6**.** You can now drag and drop music or files from your collection into your new playlist or folder in OneLibrary.
Note: Copying playlists and track information to OneLibrary may take some time, depending on file sizes.
Adding existing playlists or folders to OneLibrary
-
Connect a USB drive to your Mac.
-
Go to the sidebar and click My Collection.
-
Right-click on an existing playlist and select Add to USB Library.
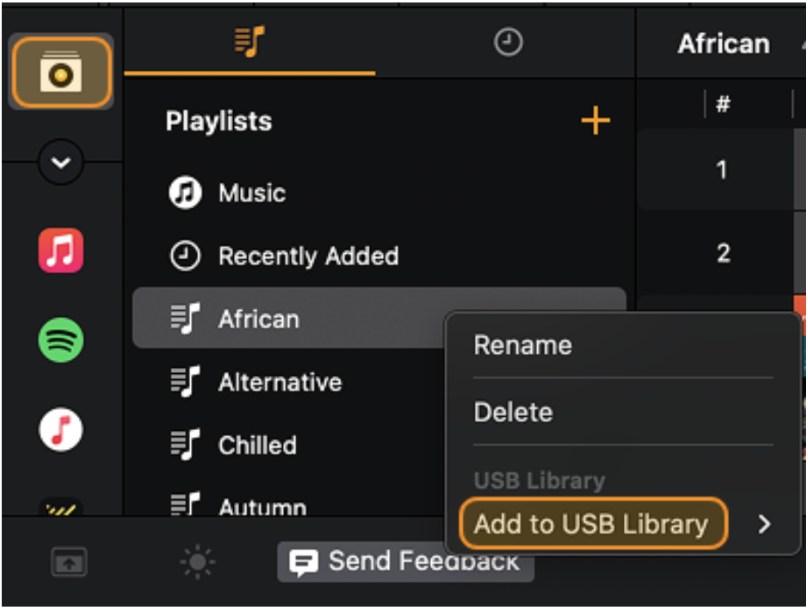
- The playlist will now appear in OneLibrary.
Alternatively, use Split Library mode to drag and drop playlists and folders directly to OneLibrary.
Notes & troubleshooting
- If your drive does not appear, confirm the file system (exFAT / FAT32 / HFS+) and that the drive is mounted by the OS.
- On iOS, because OneLibrary is read-only, export and editing must be performed on macOS or Windows.
- When moving a OneLibrary drive between platforms, always eject/unmount the drive safely before unplugging.


